
Easily Split Your Mac Screen for Multitasking
These days, juggling multiple tabs or windows has become essential for getting things done. Whether you're working on a school assignment, a professional project, or planning a vacation, constantly switching between windows can be frustrating.
That’s where Split Screen comes in handy. With this feature, you can watch an educational video while taking notes, or keep a spreadsheet open alongside a report you're writing—boosting both convenience and productivity.
macOS offers a built-in Split Screen feature that makes multitasking seamless. Available on devices running macOS Mojave 10.14 or later, it allows you to view and interact with two windows side by side—no need to keep hitting Command + Tab.
What Is Split Screen and Why Should You Use It?
With Split View on macOS, you can display two apps side by side, making it easier to multitask without losing focus. Instead of flipping back and forth between windows, you can view and use both at once, streamlining your workflow.
This convenient feature is available in newer versions of macOS under the name Split View.
Benefits of Using Split Screen on macOS
Improved Productivity
View two apps simultaneously—like writing a report while referencing a webpage or watching a lecture while taking notes—without constantly switching between windows.
Effortless Multitasking
Split View makes it easy to manage multiple tasks at once. You can respond to emails while attending a video call or compare documents side by side.
Minimized Distractions
By focusing only on the two selected windows, Split View helps reduce visual clutter and distractions from other open apps or background content.
Better Organization
Having two windows neatly arranged on your screen helps keep your workspace tidy and tasks separated.
What You Need to Use Split Screen on Mac
Apple introduced Split View in 2015 with OS X El Capitan 10.11, and it has been a standard feature in every macOS version since, including:
-
macOS Sonoma 14
-
macOS Ventura 13
-
macOS Monterey 12
-
macOS Big Sur 11
-
macOS Catalina 10.15
-
macOS Mojave 10.14
If you're using one of these versions but can't get Split View to work, it might be due to app compatibility. Not all applications support Split View, so if placing an app on one side doesn’t expand it to fill half the screen, the app may not be supported.
Another possibility is that you’re not using full-screen mode. Split View requires both apps to be in full-screen in order to function properly.
Step-by-Step: How to Use Split Screen on Your Mac
Working with two windows side by side is a smart way to streamline your workflow. Split View on macOS makes this possible, helping you manage tasks more efficiently, whether you're focusing on classwork, handling office duties, or diving into personal interests.
Use the following steps to activate and take full advantage of this built-in multitasking feature on your Mac:
Step 1: Entering Split View Mode

You can enable Split View either through Mission Control or by using the full-screen button. If you already have an app running in full-screen mode and want to switch to Split View, here’s what to do:
-
Press Control + Up Arrow to open Mission Control.
-
In the Spaces bar at the top, drag another app window onto the thumbnail of the full-screen app.
-
Click the new Split View thumbnail that appears.
-
Alternatively, you can drag one app’s thumbnail directly onto another in the Spaces bar to initiate Split View.
To use Split View across multiple displays, open System Preferences and go to Mission Control. Then make sure "Displays have separate Spaces" is enabled.
If you’re not using full-screen mode yet, follow these instructions instead:
Step 2: Pick the First Window to Display
- Start by selecting the app you’d like to use in Split View. Move your cursor over the green button in the top-left corner of the app window.
- A small menu will appear with options like Enter Full Screen, Tile Window to the Left of the Screen, and Tile Window to the Right of the Screen.
- Choose either the left or right tiling option, depending on where you want the app to appear. Once it’s positioned, you’ll be able to adjust the layout by selecting another app for the opposite side or resizing the windows to suit your workflow.
Step 3: Selecting the Second Window
- After the screen splits, select the second app you'd like to open alongside the first.
- You can easily resize each window by dragging the divider between them to create a layout that works best for you.
If your workspace feels crowded, consider using Mission Control to create extra desktops or Spaces, giving you more room to organize your tasks.
How to Control Windows in Split View
Using split screen can simplify your workflow, but getting truly comfortable with it may take a bit of time and experimentation.
Adjusting Window Sizes in Split View
Need one window to take up more space than the other? Simply click and hold the vertical divider between the two apps, then drag it left or right to resize each window to your preference.
Keep in mind that not every app supports flexible resizing. Some built-in apps, like Apple Photos and Apple Music, have fixed dimensions in Split View.
If you'd like to swap the positions of the two windows, just drag one of them across to the opposite side of the top toolbar.
How to Switch Main Window in Split View?
To start a split screen from your primary window, press Control + Up Arrow to open Mission Control, where all your active apps are displayed. From there, navigate to the Spaces bar at the top, click on your desired app, and select another window to pair with it in Split View.
Exiting Split View on Mac
When you’re ready to exit Split View, just click the green button in the top-left corner of either window—this will return the app to its standard view.
Alternatively, pressing the Escape key will also take you back to your regular desktop setup.
If one of your windows seems to be missing, don’t worry. Press F3 (Mission Control) to view all active desktops and split view spaces. You’ll see both the main desktop and your split-screen session—select the window you want, then click its green button to close Split View.
How to Solve Split Screen Issues on macOS?
Technology has a way of acting up just when you need it most. Being prepared with the right steps can help you stay on track and avoid unnecessary frustration.
Below are a few practical fixes for common issues you might encounter while using Split View on macOS.
How to Force Split Screen on Unsupported Windows
Some applications prevent Split View functionality and display a "Not Available in This Split View" message. Enabling "Displays have separate Spaces" in System Settings → Mission Control typically resolves this limitation. This setting modifies macOS's display management behavior, allowing most applications to work in Split View. Certain applications may still remain incompatible due to developer-imposed restrictions.
The solution works by changing how macOS allocates screen space to applications, bypassing some software limitations while maintaining system stability. For persistent cases, alternative window management solutions may be necessary.
Dealing With Apps That Refuse to Work in Split View
If an app freezes:
• Press Esc → Select app → Force Quit
• Or right-click its Dock icon → Force Quit
Relaunch to continue working. Other windows stay unaffected.
(Works just like regular windows, but keeps your split layout intact.)
When Split Screen Won't Close: Solutions
When Split View won't let go, use these steps:
Use the Keyboard Shortcut
Press and hold the Control key, then press the Arrow Up key. These commands will bring up the Mission Control, allowing you to exit the split screen.
Check your System Preferences
Go to the Apple menu, then click System Preferences and Mission Control. Make sure that the box next to “Displays have Separate Spaces” is checked.
If it has already been checked, switch it off and on a few times to resolve the issue.
Disable Split Screen Entirely
If nothing else works, disable Split View entirely. Again, click the Apple menu at the top left of the screen, then go to System Preferences and Mission Control. Then, uncheck the box next to "Displays have separate Spaces." This will disable Split View, so you can use your device in full-screen or normal mode.
Beyond Basics: Split Screen Secrets
Master Your Workflow With These Time-Saving Shortcuts
Shortcut Keys That Will Transform Your Workflow
- Enter/Exit Split View- Use Ctrl + Command + F to enter and exit full-screen mode.
- Switch Between Apps- Click Command + Tab to quickly switch between applications.
- Mission Control - Access Mission Control with Control + Arrow Up to easily manage your various windows and desktops.
- Show Desktop- Press F11 or Command + F3 to quickly view your desktop and drag files into your split-screen apps.
- Force Quit- To exit an unresponsive application, press Command + Option + Esc to Force Quit.
Multitasking Mastery: Split View + Multiple Desktops
macOS also allows you to create multiple desktops, each of which can use Split View independently. To do this, open Mission Control by pressing F3 or Control + Up Arrow, then click the plus (+) icon at the far right of the Spaces bar. You can have up to 16 separate spaces active at once.
Enhance Your Workflow: Pair Split View with a Second Screen

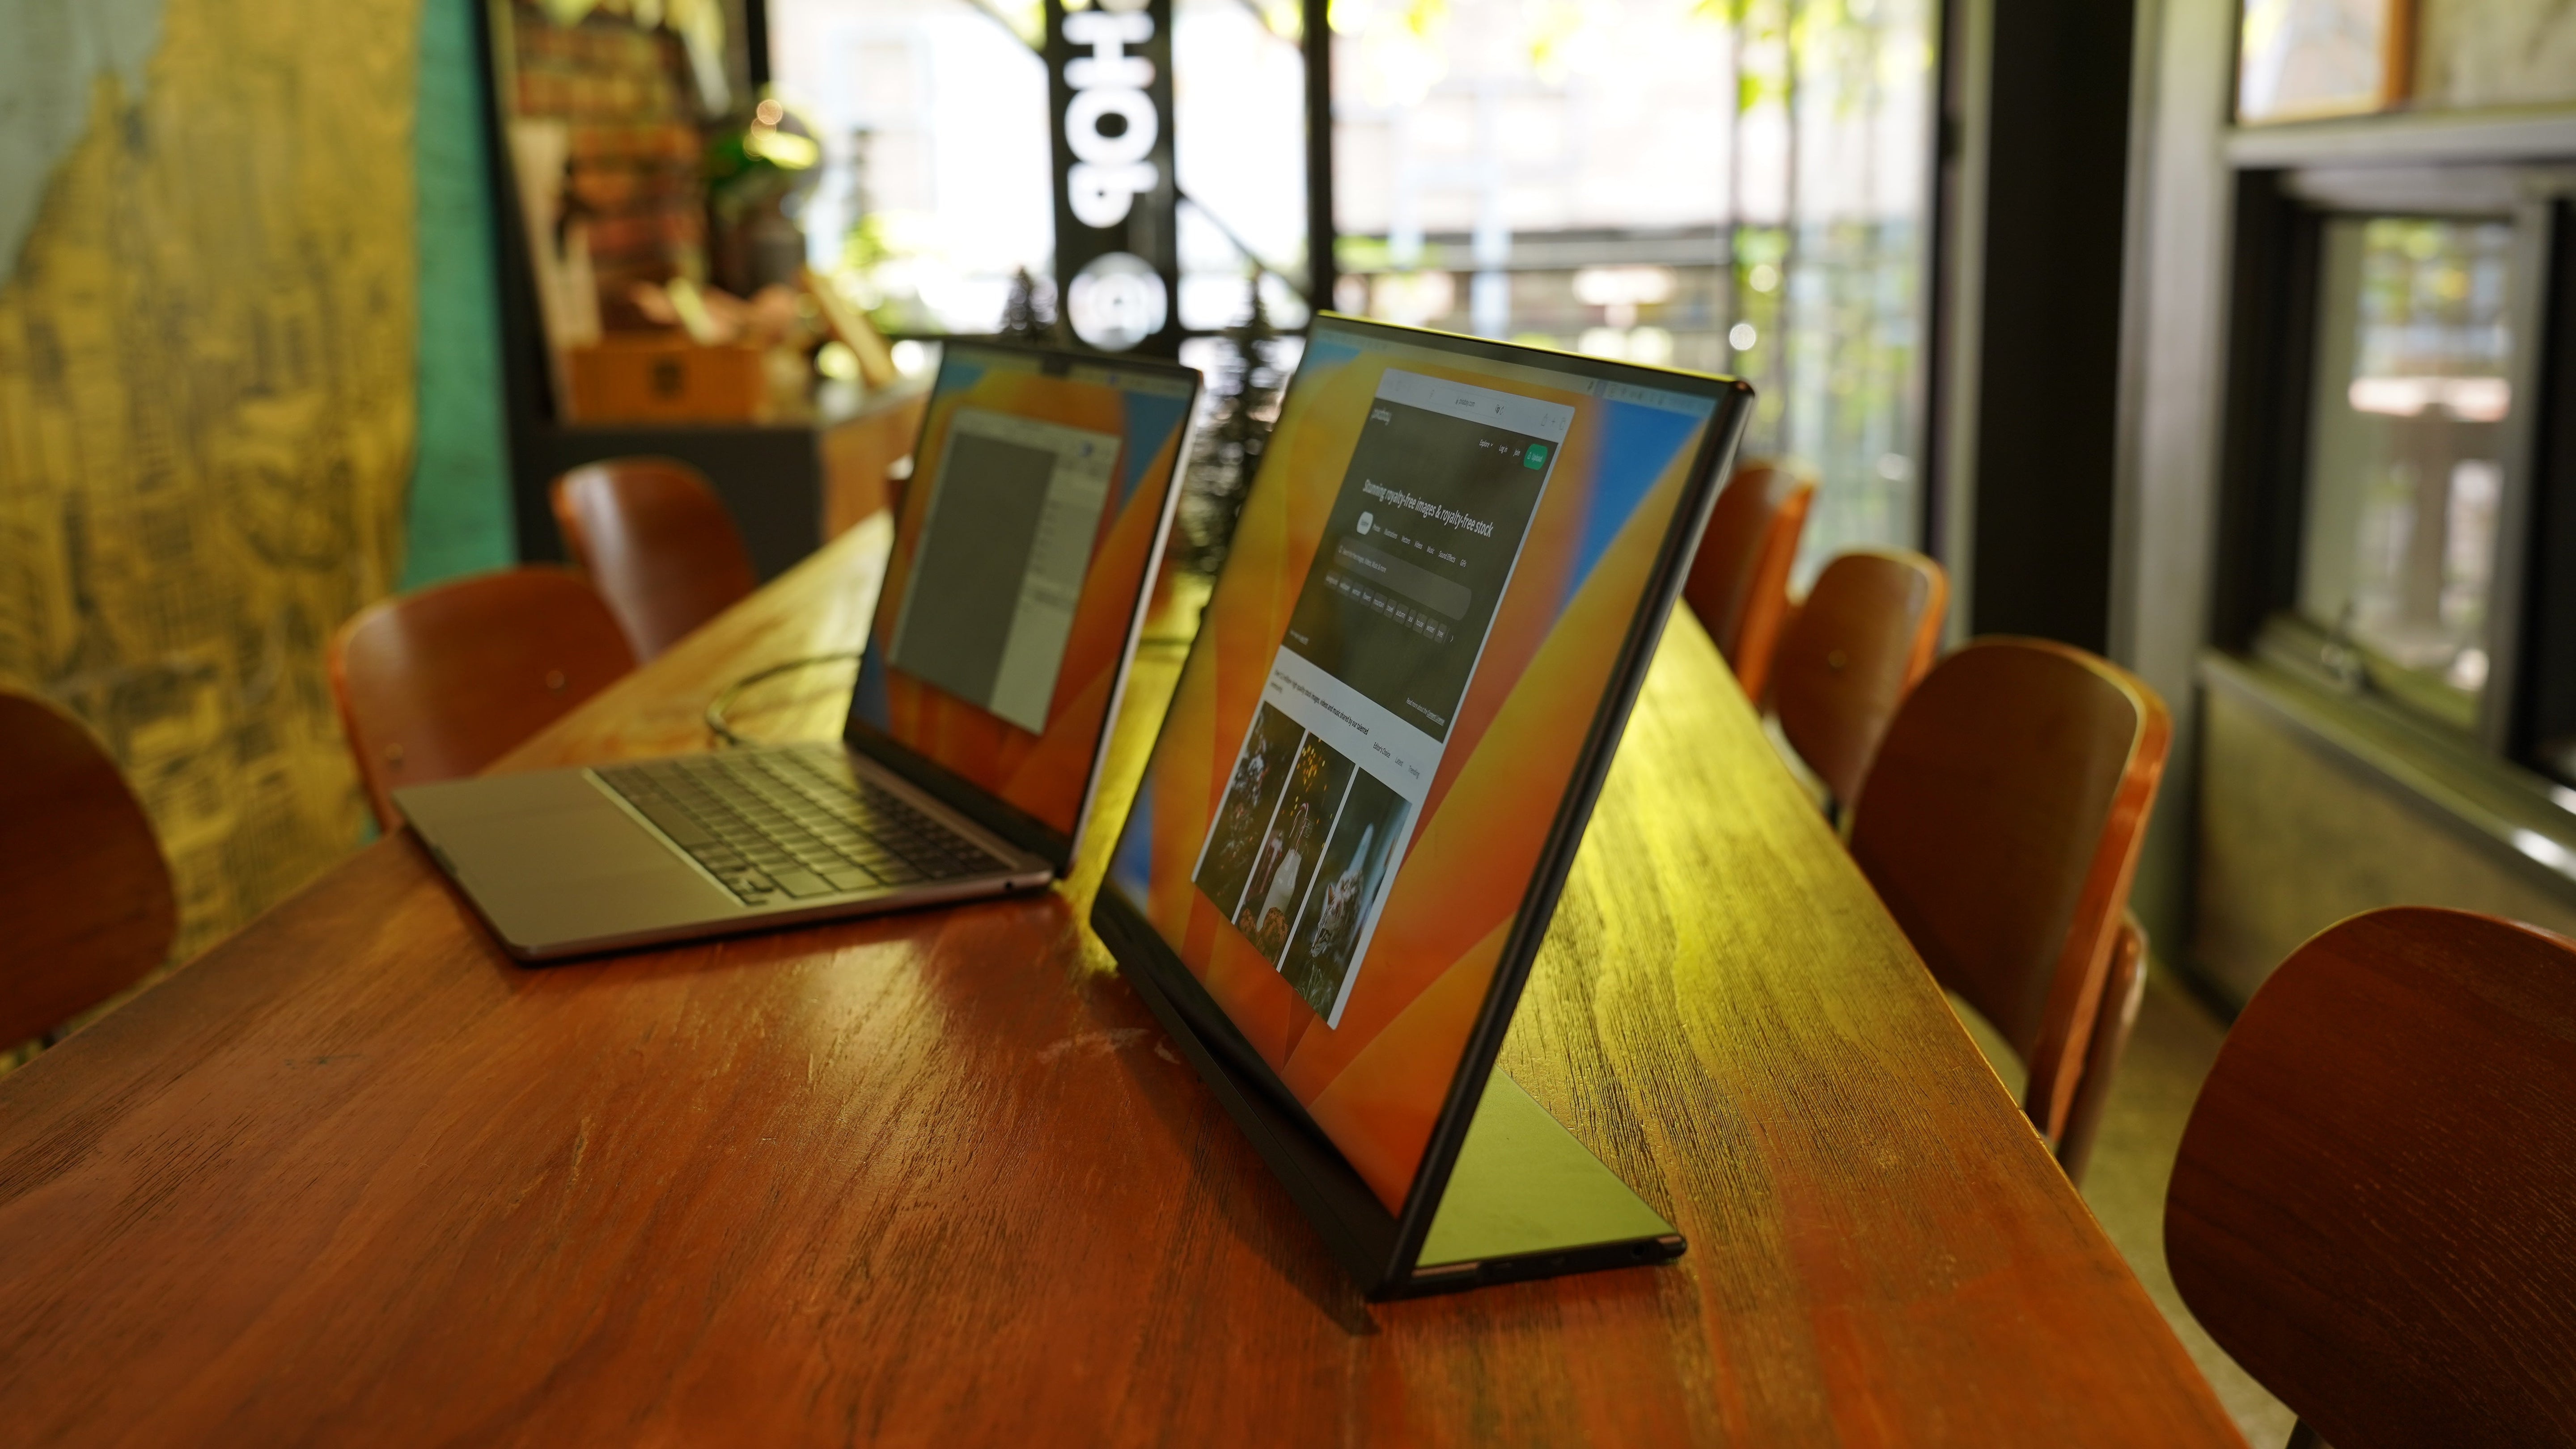
macOS Split View is a powerful feature that allows you to multitask more efficiently by placing two apps side by side on a single screen. But why stop there? By adding a second display to your setup, you can unlock a whole new level of productivity.
With an extended screen, Split View becomes even more useful. You can keep two windows open on your main display while dedicating the second screen to reference materials, video calls, file management, or creative tools. This means less time switching between apps, and more time staying focused.
Whether you're editing documents, coding, designing, or simply organizing your day, a dual-screen setup allows for smoother multitasking and better organization of your digital workspace. It’s especially helpful for remote workers, students, and anyone who manages multiple applications at once.
If you're using a portable monitor like X2 Pro, setting it up with your Mac is quick and easy—no extra drivers required. Once connected, your Mac will automatically detect the second screen, and you can begin using Mission Control and Split View across both displays.
Want to boost your efficiency even more? Try this setup:
-
Main screen: Split View with your primary working apps (e.g., browser + document editor)
-
Second screen: Dedicated to communication (Slack, Zoom), file previews, or task managers
Don’t limit your productivity to a single screen. Pair macOS Split View with a second display and experience a smoother, more flexible workflow, where everything you need is always in view.

Leave a comment
This site is protected by hCaptcha and the hCaptcha Privacy Policy and Terms of Service apply.