
Portable Monitor Calibration Guide: How to Use Spyder for Color Accuracy
1. Pre-Calibration Checklist
✅ Essential Tools:
- Datacolor Spyder (e.g., Spyder X/Spyder 5)
- Matching software (SpyderX Pro/Spyder5Express)
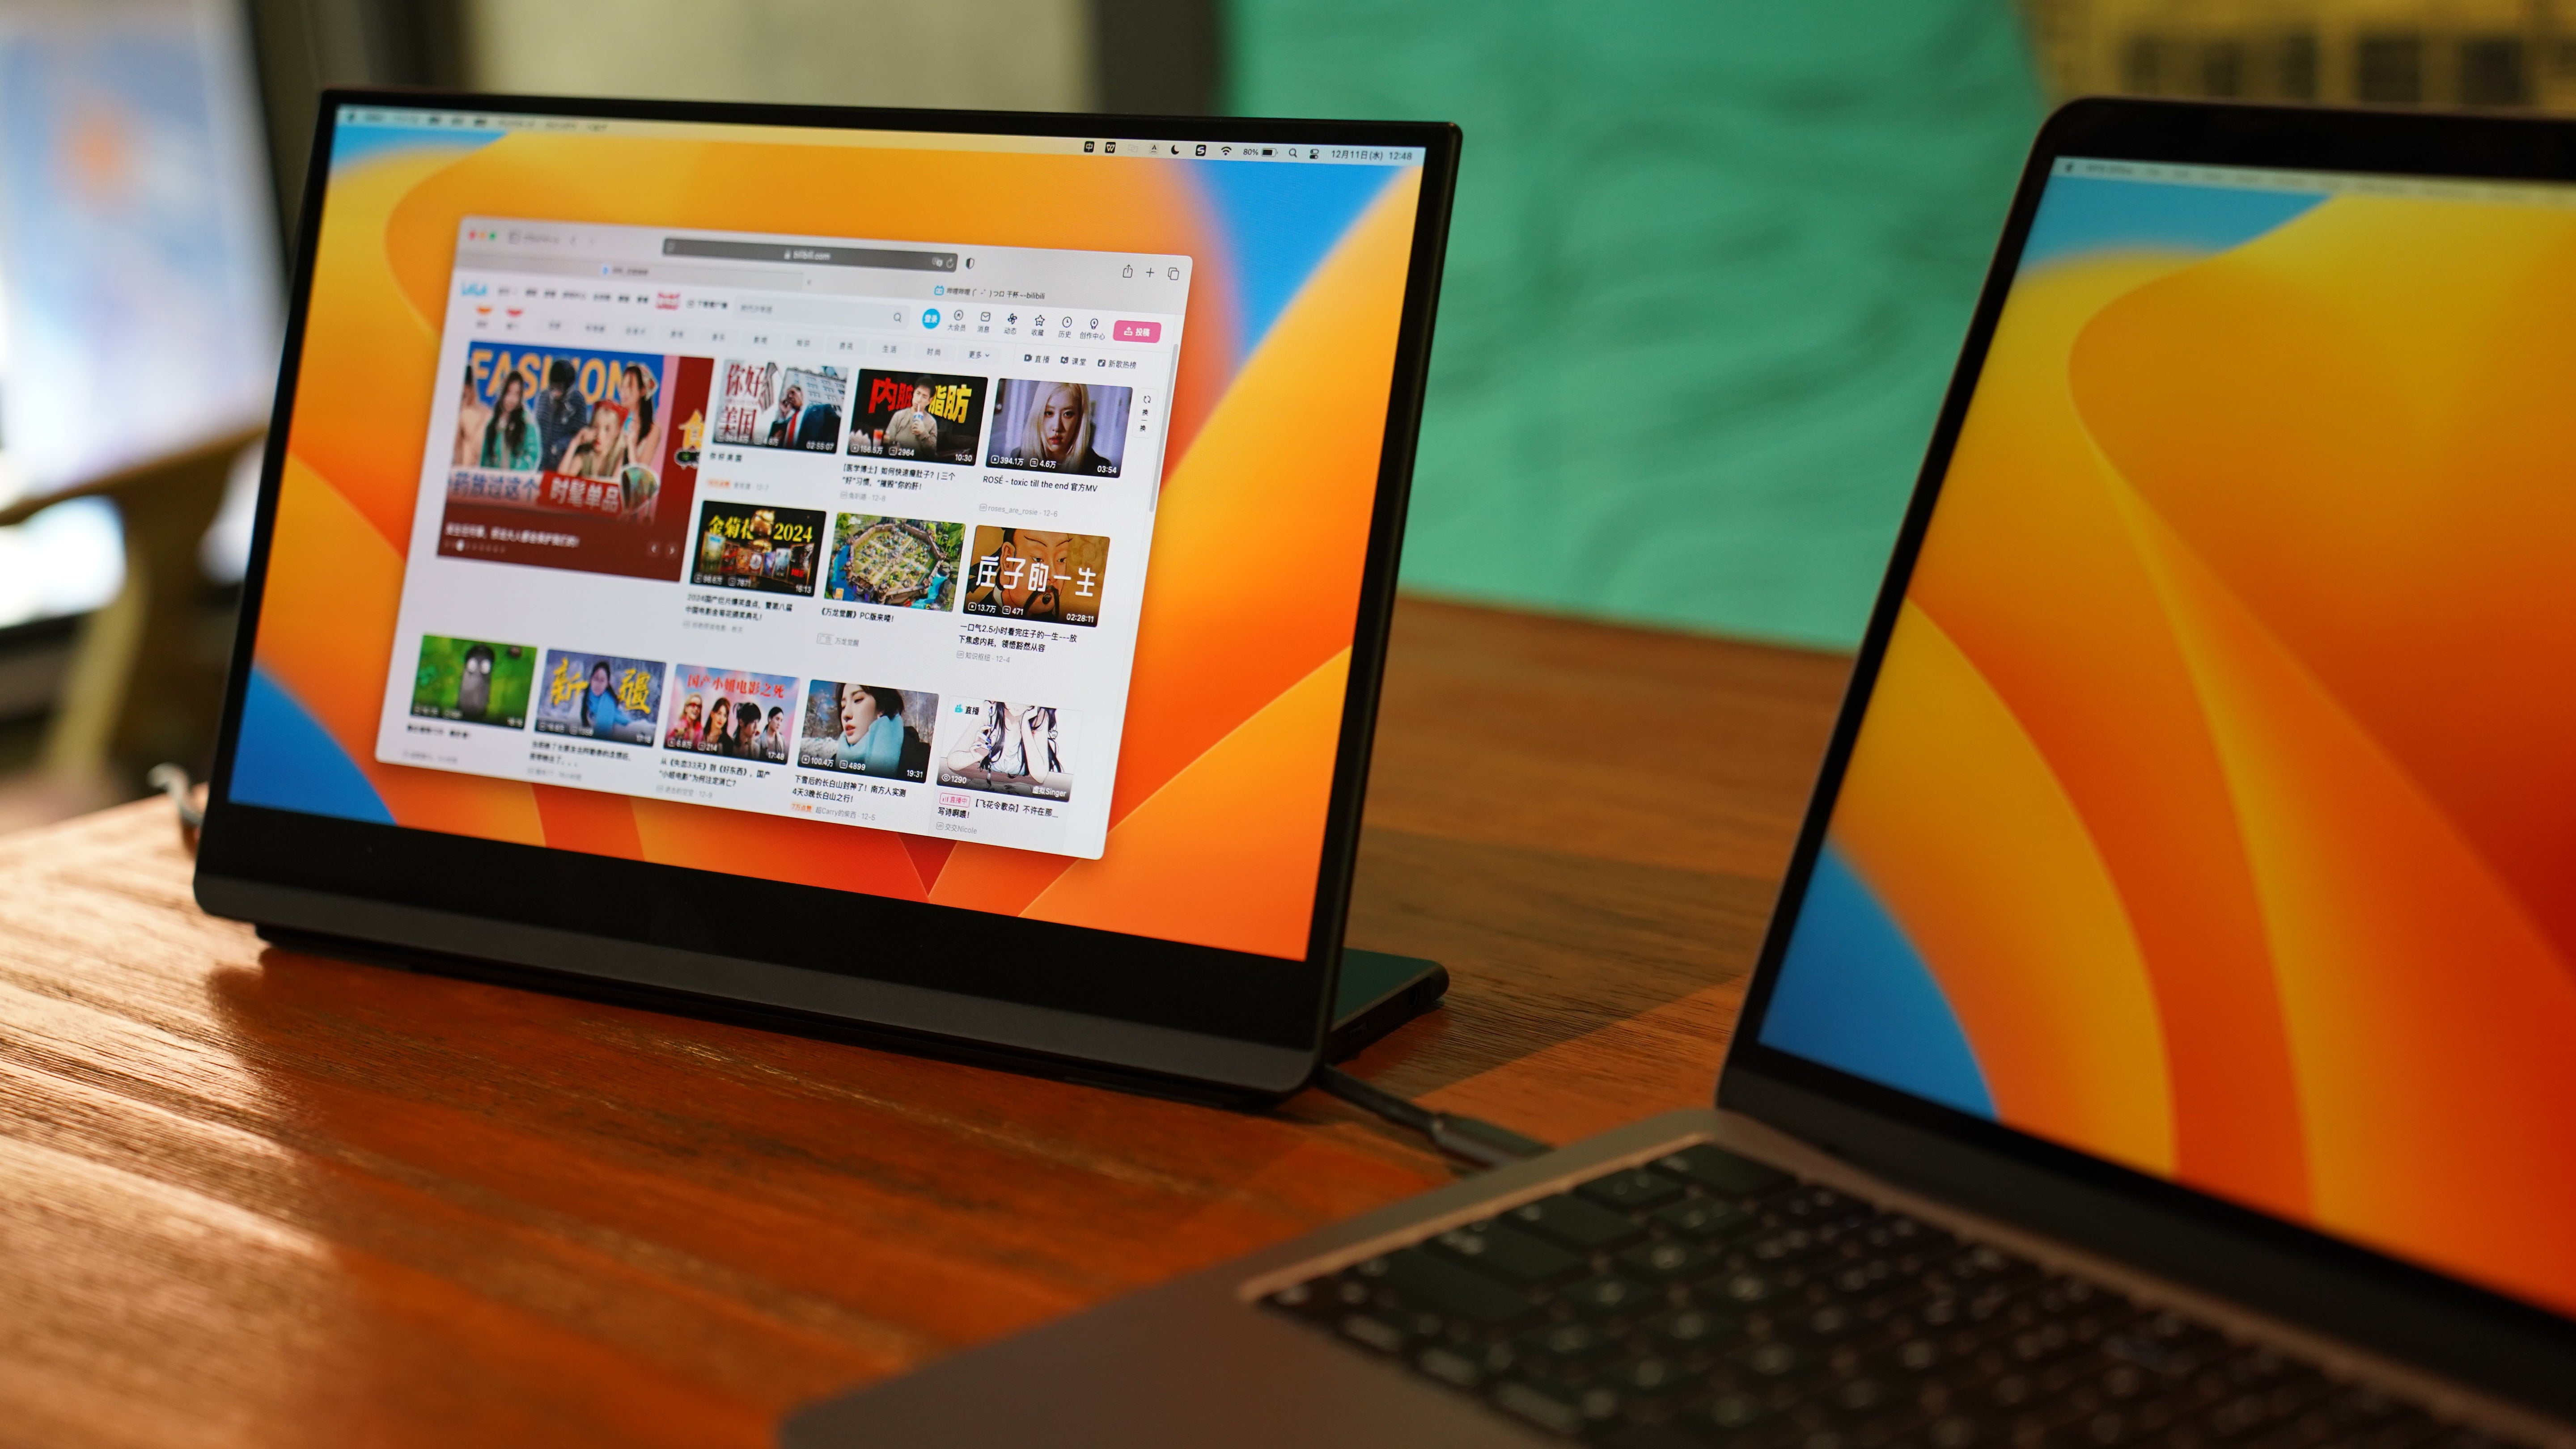
- Portable monitor (warm up for 30 mins)
- Stable lighting environment (avoid direct sunlight)
⚠️ Important Notes:
- Disable auto-brightness
- Reset to factory color settings (e.g., sRGB mode)
- Ensure the monitor is actively displaying content
2. Step-by-Step Calibration
Step 1: Setup
- Install latest software from Datacolor
- Hang Spyder at screen center (2-3cm from edges)
Step 2: Configuration
- Beginners: Use "Assistant Mode" (6500K, 120cd/m²)
- Pros: Manual settings
- White Point: D65 (6500K)
- Gamma: 2.2 (Windows)/1.8 (Legacy Mac)
- Brightness: 80-150cd/m² (adjust per environment)
Step 3: Calibration
- Follow on-screen instructions
- Complete 7-10 color patches (5-10 mins)
- Save ICC profile
Step 4: Verification
- Test with skin tone/gradient images
- Verify ΔE<2 using DisplayCAL
3. Troubleshooting
❌ Issue 1: Device Not Detected
- Try different USB ports
- Reinstall drivers
❌ Issue 2: Color Cast
- Check ambient light (5000-6500K recommended)
- Disable dynamic contrast
❌ Issue 3: ICC Profile Not Loading
- Windows: Load via Color Management
- Mac: Enable in "Display Preferences"
4. Pro Tips
- Frequency: Monthly (OLED: every 3 months)
- Multi-Monitor Sync: Apply same ICC profile
- Advanced: Combine with X-Rite i1Pro for spectral calibration
Note: For HDR calibration, use specialized tools like Calman for portable monitors with HDR10 support.
%0AMatching%20software%20(SpyderX%20Pro/Spyder5Express)%0APortable%20monitor%20(warm%20up%20for%2030%20mins)%0AStable%20lighting%20...)
Leave a comment
This site is protected by hCaptcha and the hCaptcha Privacy Policy and Terms of Service apply.